
Crypto trading sometimes feels like you’re strapped to a rocket… and nobody told you where the brakes are. One minute you’re up, smiling, checking prices every five minutes. The next minute, the market drops like it forgot gravity exists, and suddenly you’re staring at your screen, wondering when life became this stressful. This is exactly where a stop-loss order comes in.
Think of it as your quiet, responsible friend. The one who doesn’t drink, doesn’t panic, and absolutely will drag you home when things get out of hand. You set it once, and it handles the messy part if the market turns against you. It is not perfect. It will not save you from every bad decision. But it will stop one bad trade from turning into a disaster.
So, what does a stop-loss order actually do?
A stop-loss order is not complicated, despite how exchanges try to explain it. It is simply a note you leave with the exchange that says, “If the price hits this number, sell. No questions asked. Just get me out.”
Think of it like the emergency brake on a train. You hope you never need to yank it, but if you see a cow on the tracks, you are very glad it is there.
In the old days of stock trading, brokers had little slips of paper for this. Today, in crypto, it works the same way but faster. You pick a price. The computer watches. If that price gets touched, the computer starts selling. Simple. But here is where crypto gets weird, and why you need to understand the fine print.

The different flavors of stop-loss orders
There are different types of stop-loss orders, just like there are different ways to make coffee. Each type is best for a different situation.
1. The “just get me out” order (stop market)
This is the simplest kind, no drama, no overthinking. You pick your price, and once the market touches it, the system just sells immediately at whatever price is available at that moment. The whole point here is speed. You are saying, “I’m out; just get me out.”
Yes, you might not get the exact price you hoped for, especially if things are moving fast. But that’s the trade-off you accept. You’re choosing a clean exit over a perfect one, because your priority is simple: cut the loss and move on.
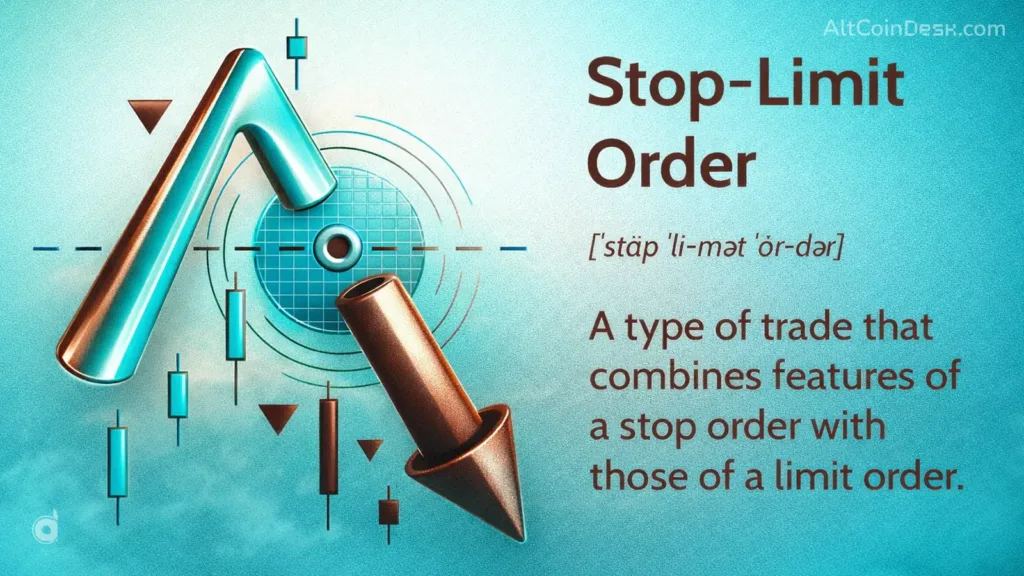
2. The “don’t sell too cheap” order (stop limit)
This one is a bit more cautious. It wants control, not surprises. Here, you set two prices. The stop price tells the system when to wake up. The limit price tells it the worst deal you are willing to accept.
So when your stop price is hit, the exchange tries to sell your asset, but only at your limit price or better. In simple terms, you are saying, “I want out, but not at a terrible price.” Sounds smart, and it is. Until the market decides to move faster than you expected.
If the price drops quickly and skips past your limit, your order just sits there, waiting. No sale. No exit. You are still in the trade while the price keeps falling without you. So yes, you gain control with this approach. But the trade-off is real. There is always a chance you do not get out at all.
3. The “follow the winner” order (trailing stop)
Imagine you’re in a winning trade and the price is climbing. A trailing stop is like a loyal pet that follows you up the hill but stays put if you start to fall back down. You set it as a percentage distance (e.g., 5%) from the market’s peak.
As the price rises, your stop price rises with it. If the price then drops by 5%, the order triggers and sells. This brilliant tool helps you lock in profits as they grow, while still giving the trade room to run. It’s fantastic in a strong uptrend but can be annoying in a choppy market where it might get you shaken out.
4. The “complete game plan” order (bracket)
This is for when you want to set your entire battle plan from the start. When you enter a trade, you can “bracket” it with two opposite orders: a stop-loss order below your entry (to define your maximum loss) and a “take profit” order above your entry (to lock in your gains). They work like a seesaw; when one order triggers, the other is automatically cancelled. This is perfect for sticking to a disciplined strategy without having to watch the screen every second.
Why a stop-loss order is your best friend in crypto
Crypto markets are unique. They never sleep, they’re open 24/7, and they can be incredibly volatile. While Bitcoin’s volatility has calmed down a bit compared to its early days, it’s still much more volatile than the stock market. This is precisely why a stop-loss order is so critical.
Adding to the challenge is liquidity—or the lack of it. Liquidity refers to how easy it is to buy or sell an asset without moving its price. For Bitcoin, there’s usually a deep pool of buyers and sellers. But for many smaller “altcoins,” that pool is more of a puddle.
A report from Kaiko showed that at the start of 2025, Bitcoin’s market depth (a measure of liquidity) was strong, but it had dropped significantly for many altcoins. This has a direct effect on your stop-loss order. A stop market order on a Bitcoin pair that is easy to sell. If you place the same order on an altcoin with low trading volume, you could lose a lot of money and sell your coins for much less than you thought.

The hidden detail most traders miss
In the world of crypto futures and leveraged trading, a stop-loss order gets an extra layer of complexity: the trigger price might not be the price you see on the simple chart.
Exchanges can use different reference prices to trigger your stop. The most common are:
- Last Price: The price of the most recent trade.
- Mark Price: A “fair value” price calculated by the exchange to prevent manipulation. It smooths out erratic spikes or dumps in the Last Price and is what’s used to determine if you get liquidated.
This is a huge deal. Let’s say you have a leveraged position and set a stop-loss order based on the Last Price to get out just before your liquidation level. If the market has a sudden, brief spike in the Last Price (a “wick” on the chart), you could get stopped out. But if your liquidation is based on the smoother Mark Price, that brief spike might not have moved it much.
The dangerous scenario? The reverse can also happen. The Mark Price could drift towards your liquidation level, forcing a liquidation, before your Last Price-based stop-loss order ever has a chance to trigger. For anyone using leverage, understanding this difference isn’t a technical footnote; it’s survival.
How to actually use a stop-loss order
The most common mistake traders make is buying first and figuring out their exit strategy later. The best practice is to build your trade around your stop-loss order, not the other way around.
Here’s a simple, smart workflow:
- Decide your risk: How much money from your total account are you willing to lose on this single trade? A common rule is 1-2%.
- Find your invalidation level: At what price is your reason for buying simply proven wrong? Maybe it’s below a recent support level on the chart. This is your stop price.
- Calculate your position size: The distance between your entry price and your stop price determines your risk per coin. You then adjust how many coins you buy so that your total potential loss equals the amount you decided in step one. This makes every loss predictable and manageable.

Picking your stop type and placement
So, stop market or stop limit? If you’re using leverage or trading a very liquid coin, a stop market is usually safer because you prioritize getting out. If you’re trading an illiquid altcoin, a stop limit might protect you from a horrible fill, but you must accept the possibility that it might not fill at all.
And where do you put that stop price? Don’t just pick a random round number.
- Percentage Stops: Easy for beginners (e.g., “I’ll sell if it drops 5%”). But they don’t adapt to market conditions.
- Volatility Stops: Using a tool like Average True Range (ATR) helps you set a stop based on the coin’s recent price swings. The stop is wider in volatile times and tighter in calm ones.
- Structural Stops: This is the gold standard. You place your stop just below a key support level or swing low. This ties your exit directly to the market’s own story.
Avoiding the common pitfalls
Traders often sabotage their own stop-loss orders. They might place it too close, getting “wicked out” of a good trade by normal market noise. Or they place it too far away and then trade a position size that’s way too big for their account, hoping the stop won’t be hit. Another classic mistake is moving the stop further away after entering a trade, turning a small, planned loss into a much larger one simply because they couldn’t admit they were wrong. That’s not risk management; that’s hope.